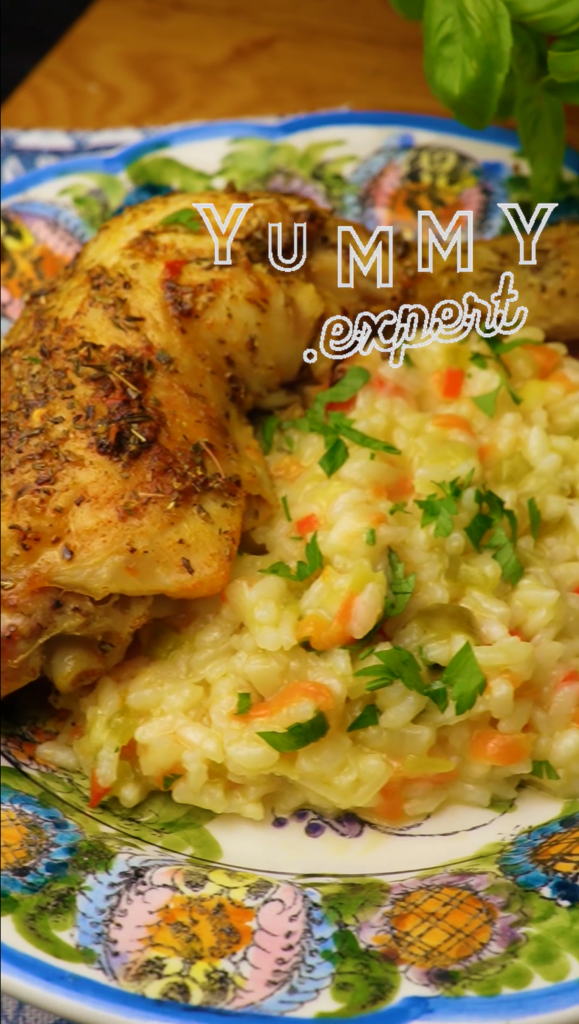
Creamy Pilaf with Vegetables and Oven-Baked Chicken
Ingredients
For the chicken:
For the vegetables:
For the pilaf:
Instructions
-
Prepare the Chicken:
-
- In a large pot, place the chicken legs and cover with water.
- Add 1 onion (cut into quarters), celery, 2 bay leaves, and salt.
- Bring to a boil and cook for about 15 minutes.
- After 15 minutes, remove the chicken from the pot, reserving the broth for later use in the pilaf.
-
-
Prepare the Spices and Vegetables:
-
- Chop 1 onion finely and chop 2 cloves of garlic.
- Grate 1 carrot, and chop 1/2 red bell pepper and 1 green bell pepper finely.
- Set the vegetables aside for later use.
-
-
Season the Chicken:
-
- In an oven-safe pan, combine salt, garlic powder, paprika, oregano, black pepper, and 1/4 teaspoon dried chili (optional).
- Add 2 tablespoons olive oil and mix well.
- Coat the chicken with this spice mixture and place the chicken back in the pan.
- Add green thyme, rosemary sprigs, and lemon slices on top.
- Place the pan in a preheated oven at 200°C (392°F) and bake for 25 minutes or until the chicken is nicely browned on top.
-
-
Prepare the Pilaf:
-
- In a pan, heat 2 tablespoons of olive oil and sauté the prepared vegetables (onion, garlic, carrot, and peppers) for about 1 minute.
- Add 1 cup rice and season with salt.
- Gradually add the chicken broth (reserved from boiling the chicken), stirring as you go, until all the broth is absorbed and the rice is cooked.
-
-
Finish the Pilaf:
-
- Once the rice is cooked, add parmesan cheese (optional) and 1 teaspoon butter.
- Stir everything well to incorporate and create a creamy texture.
-
-
Serve:
-
- Serve the creamy pilaf with the oven-baked chicken and enjoy!
This Creamy Pilaf with Vegetables and Oven-Baked Chicken is a comforting and flavorful dish perfect for any season, easy to prepare, and guaranteed to please the whole family! -